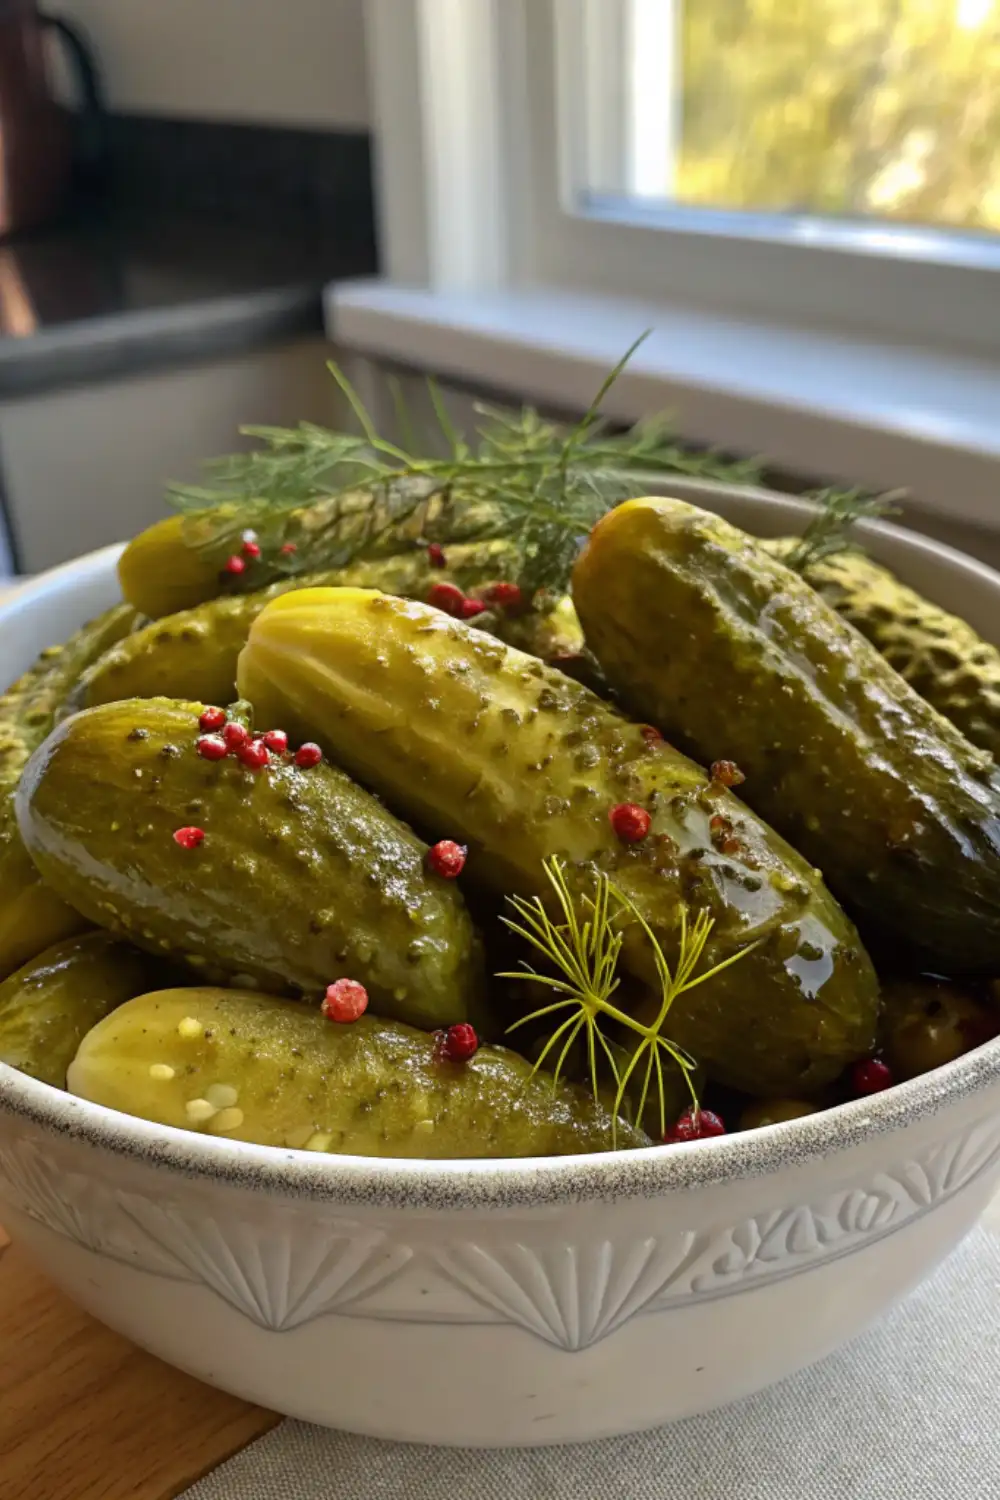

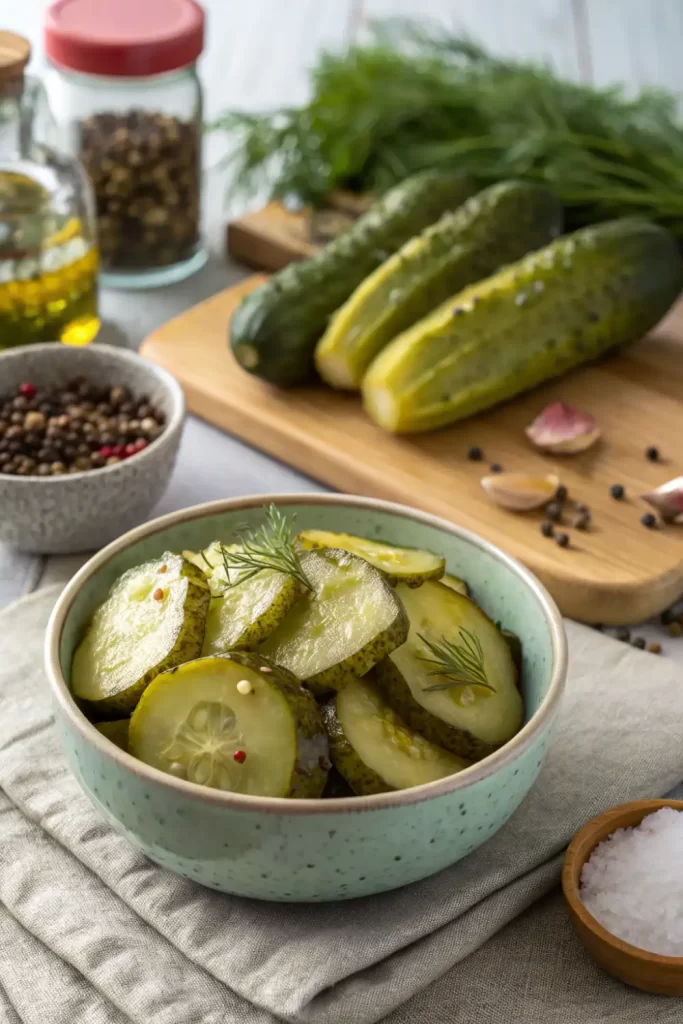
Dill pickles are a classic, tangy, and crunchy treat that can be enjoyed as a snack, a side dish, or a topping on burgers and sandwiches. Making your own dill pickles at home is not only fun but also allows you to control the ingredients and flavors to your liking. This homemade dill pickle recipe is simple, requiring just a few ingredients and basic kitchen equipment. With this guide, you’ll learn how to prepare crisp and flavorful dill pickles from scratch.
Recipe Preparation Equipment
Before you start making your homemade dill pickles, gather the following equipment:
- Large pot (for sterilizing jars)
- Canning jars with lids
- A ladle
- A large mixing bowl
- A knife and cutting board
- Measuring cups and spoons
- A small saucepan (for the brine)
- A funnel (optional, for pouring brine into jars)
- Tongs or jar lifter
Ingredients
To make the best homemade dill pickles, you will need the following ingredients:
For the Pickles:
- 2 lbs of fresh cucumbers (small pickling cucumbers work best)
- 4 garlic cloves, peeled and slightly crushed
- 2 teaspoons mustard seeds
- 1 teaspoon black peppercorns
- 1 teaspoon red pepper flakes (optional, for a spicy kick)
- 4-6 fresh dill sprigs
- 2 bay leaves (optional, for extra flavor)
For the Brine:
- 2 1/2 cups water
- 2 1/2 cups white vinegar (5% acidity)
- 1/4 cup pickling salt (or kosher salt, no iodine)
- 1 tablespoon sugar (optional, to balance acidity)
How to Make Easy Dill Pickles recipe ?

Step 1: Prepare the Cucumbers
- Wash the cucumbers thoroughly under cold water to remove any dirt.
- Trim off the ends of the cucumbers, as the enzymes in the blossom end can cause softening.
- Slice the cucumbers into spears, rounds, or leave them whole depending on your preference.
Step 2: Sterilize the Jars
- Boil the canning jars and lids in a large pot of water for 10 minutes to sterilize them.
- Remove jars with tongs and place them on a clean towel to dry.
Step 3: Pack the Jars
- Divide the garlic cloves, mustard seeds, black peppercorns, red pepper flakes, dill sprigs, and bay leaves (if using) evenly among the jars.
- Pack the cucumbers tightly into the jars, leaving about 1/2 inch of space at the top.
Step 4: Make the Brine
- In a small saucepan, combine water, vinegar, pickling salt, and sugar.
- Bring to a boil, stirring until the salt and sugar dissolve completely.
Step 5: Pour the Brine
- Carefully ladle the hot brine into each jar, ensuring the cucumbers are fully submerged.
- Leave about 1/2 inch of headspace at the top of each jar.
Step 6: Seal the Jars
- Wipe the rims of the jars with a clean cloth.
- Place the lids on the jars and screw on the bands until just fingertip tight.
Step 7: Process (Optional for Long-Term Storage)
- If you want to store the pickles for months, process the jars in a boiling water bath for 10 minutes.
- Remove jars and let them cool completely before storing.
Variations
- Garlic Dill Pickles: Add extra garlic cloves for a bold garlic flavor.
- Spicy Dill Pickles: Increase the red pepper flakes or add sliced jalapeños.
- Sweet Dill Pickles: Add 2 tablespoons of sugar for a milder, slightly sweet taste.
- Bread and Butter Pickles: Replace white vinegar with apple cider vinegar and add more sugar.
Cooking Note
- Always use fresh cucumbers for the best results.
- If you prefer crisper pickles, avoid boiling the cucumbers in the brine.
- Let the pickles sit for at least 24 hours before eating for the best flavor.
Serving Suggestions
- Serve with sandwiches or burgers for extra crunch.
- Add to a charcuterie board with cheese and meats.
- Chop and mix into potato salad or coleslaw.
- Eat as a tangy snack straight from the jar.
Helpful Tips
- Use pickling cucumbers instead of regular ones for a crunchier texture.
- If you don’t have fresh dill, dried dill can work in a pinch.
- Store opened jars in the fridge and consume within a few weeks.
- Label jars with the date for easy tracking.
Tips for the Best Dill Pickles
- Pick cucumbers that are firm and free from blemishes.
- Use non-iodized salt like pickling salt or kosher salt to prevent cloudiness.
- Let the pickles ferment for at least 24 hours for maximum flavor development.
- Store jars in a cool, dark place for optimal preservation.
More similar recipes :
- Paula Deen Corn Casserole Recipe
- Cheesy Chicken Hashbrown Casserole
- Easy Homemade Hamburger Hash Recipe
FAQs
How long do homemade dill pickles last?
If processed in a water bath, they can last up to 1 year in a cool, dark place. Once opened, refrigerate and consume within 3-4 weeks.
Can I reuse the brine?
It’s not recommended, as the salt and vinegar balance changes after use.
Why are my pickles soft?
Soft pickles can result from using overripe cucumbers or not trimming the ends properly.
Can I use apple cider vinegar instead of white vinegar?
Yes! Apple cider vinegar adds a slightly sweet and fruity taste to the pickles.
Can I make these pickles without canning?
Yes! Simply refrigerate the jars after sealing them, and enjoy within a few weeks.
Conclusion
Making homemade dill pickles is a rewarding and simple process. With just a few ingredients and some patience, you can enjoy crispy, tangy pickles anytime. Whether you like them spicy, garlicky, or classic, this recipe is easily customizable to suit your taste. Enjoy your homemade pickles as a delicious snack or a flavorful addition to your favorite dishes!
Print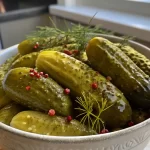
Homemade Dill Pickle Recipe – Crunchy, Tangy & Easy to Make!
- Total Time: 25 minutes (plus 24 hours for best flavor)
Ingredients
For the Pickles:
- 2 lbs of fresh cucumbers (small pickling cucumbers work best)
- 4 garlic cloves, peeled and slightly crushed
- 2 teaspoons mustard seeds
- 1 teaspoon black peppercorns
- 1 teaspoon red pepper flakes (optional, for a spicy kick)
- 4–6 fresh dill sprigs
- 2 bay leaves (optional, for extra flavor)
For the Brine:
- 2 1/2 cups water
- 2 1/2 cups white vinegar (5% acidity)
- 1/4 cup pickling salt (or kosher salt, no iodine)
- 1 tablespoon sugar (optional, to balance acidity)
Instructions
Step 1: Prepare the Cucumbers
- Wash the cucumbers thoroughly under cold water to remove any dirt.
- Trim off the ends of the cucumbers, as the enzymes in the blossom end can cause softening.
- Slice the cucumbers into spears, rounds, or leave them whole depending on your preference.
Step 2: Sterilize the Jars
- Boil the canning jars and lids in a large pot of water for 10 minutes to sterilize them.
- Remove jars with tongs and place them on a clean towel to dry.
Step 3: Pack the Jars
- Divide the garlic cloves, mustard seeds, black peppercorns, red pepper flakes, dill sprigs, and bay leaves (if using) evenly among the jars.
- Pack the cucumbers tightly into the jars, leaving about 1/2 inch of space at the top.
Step 4: Make the Brine
- In a small saucepan, combine water, vinegar, pickling salt, and sugar.
- Bring to a boil, stirring until the salt and sugar dissolve completely.
Step 5: Pour the Brine
- Carefully ladle the hot brine into each jar, ensuring the cucumbers are fully submerged.
- Leave about 1/2 inch of headspace at the top of each jar.
Step 6: Seal the Jars
- Wipe the rims of the jars with a clean cloth.
- Place the lids on the jars and screw on the bands until just fingertip tight.
Step 7: Process (Optional for Long-Term Storage)
- If you want to store the pickles for months, process the jars in a boiling water bath for 10 minutes.
- Remove jars and let them cool completely before storing.
- Prep Time: 15 minutes
- Cook Time: 10 minutes
- Category: Dessert
- Cuisine: Americans
Nutrition
- Calories: 10
- Sodium: 350mg
- Protein: 0g
Keywords: Homemade Dill Pickle Recipe